Add and edit server
To add a new webMI server to your project, right-click on Servers and choose Add Server… -> webMI.
Alternatively you can also click on "Guided Actions" in the menu bar and select "Add atvise webMI Compliant Webserver".
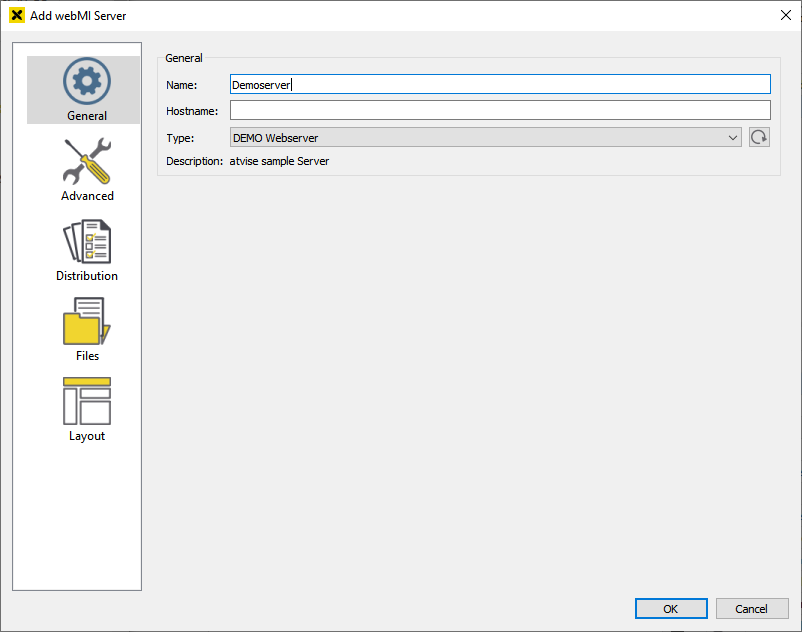
General
Enter the name, hostname and type of your server.
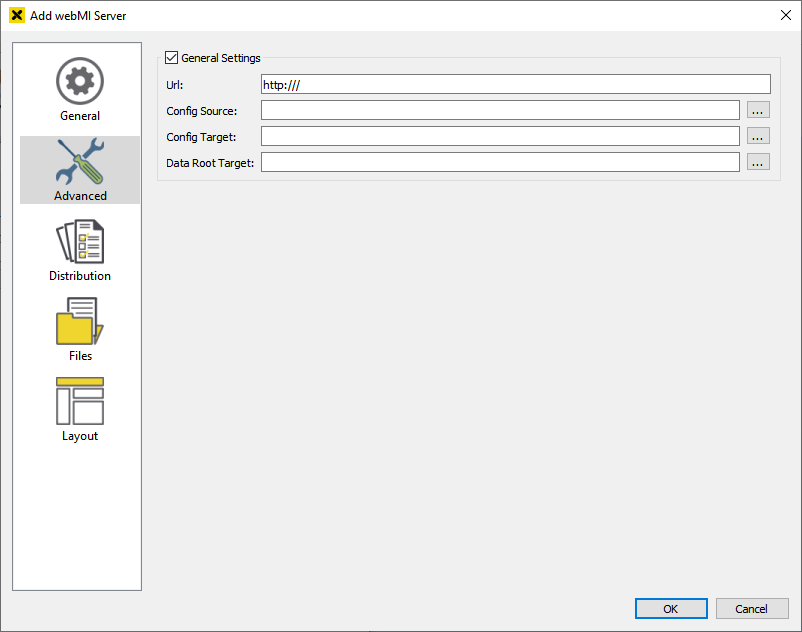
Advanced
Hint
If the General Settings checkbox is not checked, all settings will be automatically generated using the server defaults and the specified hostname.
- URL
URL of the visualization (including leading
http://).- Config Source
XML file which contains the data structure of the webMI server.
There are following possible protocols for adding a config source:
file:///local_path– Here you can enter the local path of the file.http://hostorhttps://host– Enter the complete URL of the source here.ftp://[user]:[pw]@[host]– Enter an ftp address with the syntax above to add an ftp source. "user" and "pw" stand for the FTP account data, host is the address of your ftp account.
- Config Target
The folder where your cfg files (e.g. license.cfg) are saved.
You can also use the
file:///orftp://protocol as for the config source.- Data Root Target
The folder where the visualization files (displays, resources,…) are transferred to when distributing the server.
You can also use the
file:///orftp://protocol as for the config source.
Distribution

- Compress files
If checked, the data will be compressed in a gzip format.
- Cleanup Dataroot
If checked, the entire contents of the Data Root Target will be deleted before every generation of a visualization.
- Write only changed files
Write only files that have been changed since the last distribution.
- Case Sensitive
Use case sensitive algorithm to compare filenames listed by ftp servers with generated files. Disabled by default because of some compatibility issues.
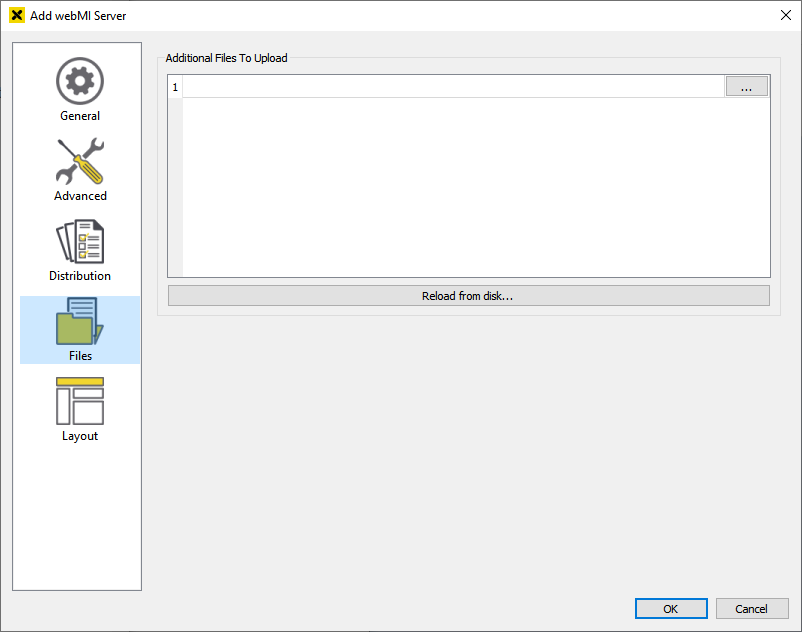
Files
Select additional files to upload from disk.
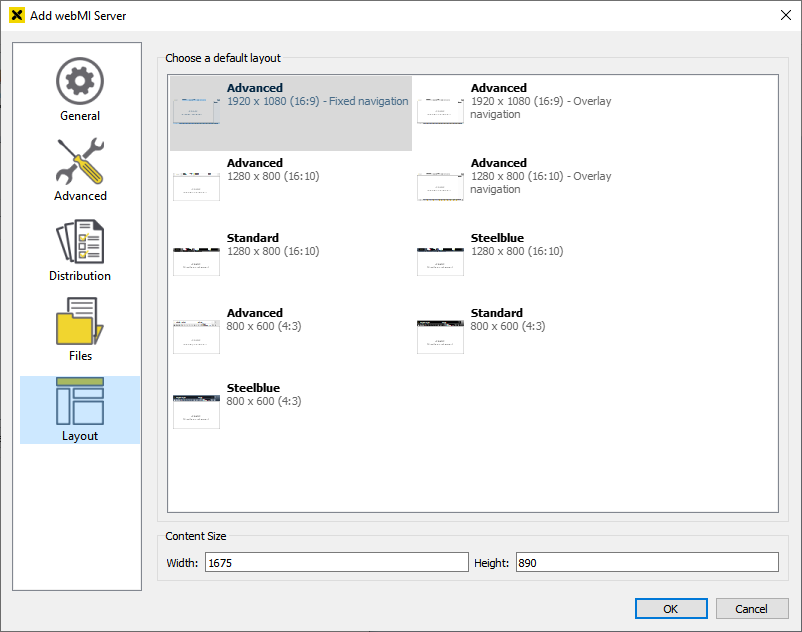
Layout
Choose a default-layout and a default-displaysize for the server.
Editing a webMI server
To edit an existing webMI server, double-click on it in the server list or right-click on it and choose .
For information about the configuration settings, see the sections above.