Add SNMP data source
An SNMP data source provides the ability to retrieve data from external sources via SNMP protocol. Relevant OIDs are hereby being polled in a configurable interval.
The data source supports:
Protocol versions 1 and 2c
SNMP data types Integer, Integer32, UInteger32, Octet String and Object Identifier
Not supported are:
SNMP security (version 3)
SNMP data types Bit String, IpAddress, Counter32, Counter64, Gauge32, TimeTicks, Opaque and NsapAddress
Writing of values via SNMP-Set request
Handling of Traps and Informs
MIB tree browsing
MIB translation
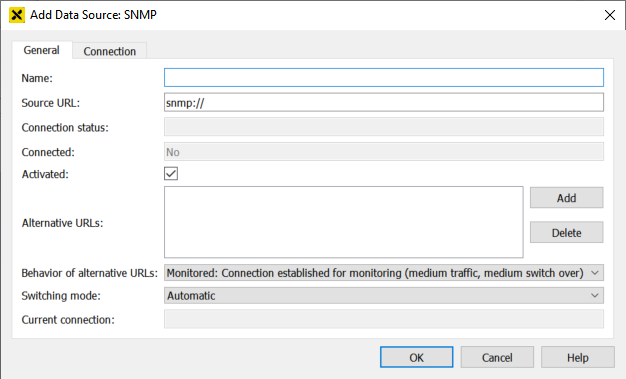
Add SNMP data source - General
- Name
SNMP data source name
- Source URL
URL to connect to the SNMP data source(e.g.
snmp://localhost)- Connection status
Status information about the connectivity of the data source.
- Connected
Indicator, whether or not the data source is connected
- Activated
Activates or deactivates the data source connection
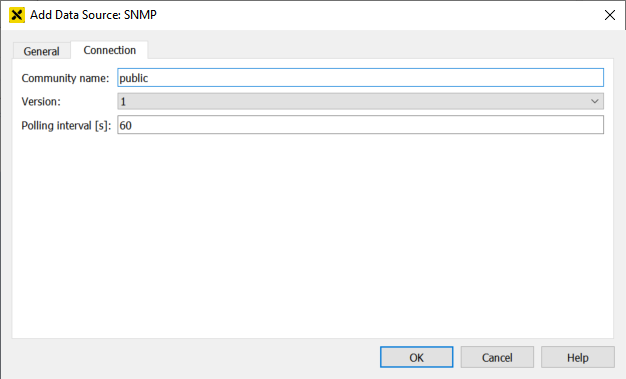
Add SNMP data source - Connection
- Community name
A community string which is accepted by the SNMP agent providing at least read-only access rights
- Version
SNMP protocol version: 1 or 2c
- Polling interval
Polling interval of the mirrored nodes in seconds. The actual update rate depends on the update rate (caching) of the SNMP agent.
SNMP agent
Windows
On Windows platforms for instance, the SNMP service can be used as an SNMP agent. This service can be installed and set up as follows:
Windows 10 installation:
Open Settings on your Windows machine.
Click Apps.
Open Manage optional features and click Add a feature.
Select Simple Network Management Protocol (SNMP) and WMI SNMP provider from the list and install them.
Windows Server 2019 installation:
Open the Server Manager.
Click Add roles and features.
Define the appropriate installation type and server and proceed to Features.
Select SNMP Service and SNMP WMI Provider from the list.
Confirm your selection and install the service.
SNMP service configuration:
Open services.msc after the SNMP installation is completed.
Double-click SNMP Service to open its Properties.
On the General tab, select Automatic for Startup Type.
Optional: Restart the service if the Security tab is not displayed.
On the Security tab, click on Add… for accepted community names, leave Community Rights as Read-Only and choose a Community Name, e.g. "public". Click on OK. You may skip this step if it is already configured.
On the Security tab in the lower half you can choose which IP addresses are allowed to access the SNMP service. You must at least choose the IP address of the machine running atvise.
On the Agent tab fill out all edit fields and enable all check boxes to make all SNMP values available.
Linux
The daemon snmpd, for example, can be used on Ubuntu. This daemon can be installed and set up as follows:
Ubuntu 22.04 installation:
sudo apt-get install snmpd
Configuration:
Edit the configuration file /etc/snmp/snmpd.conf as follows:
Comment out the line "agentAddress 127.0.0.1,[::1]" and add the line "agentAddress udp:161,udp6:[::1]:161" in the Agent Operating Mode section to listen for connections on all network interfaces. It may be necessary to open the UDP port in the firewall.
Change the line "view systemonly included .1.3.6.1.2.1.25.1" to "view systemonly included .1.3.6.1.2.1.25" in the Access Control Setup section to allow access to the entire .25 subtree.
If necessary, a community name other than "public" can be defined via rocommunity entry in the Access Control Setup section.
Restart snmpd after applying the changes: sudo service snmpd restart
Hint
These settings must be adapted to provide enhanced security, e.g. if the access shall be limited to specific IP addresses.
If the daemon snmpd is not running when SNMP data sources are used in a redundant system, the redundancy switchover is not possible.