Configure access control for the first time
This chapter describes how to configure different access rights for users in a new project and shows the access right's impact on atvise builder and atvise visualization.
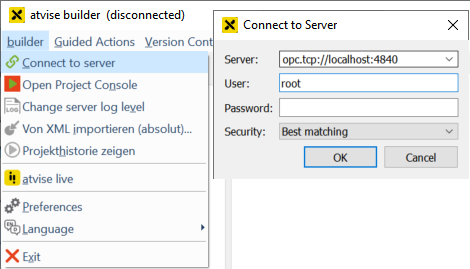
First login
Start the builder and log in with user root to make changes to general project settings, add other users and define access rights.
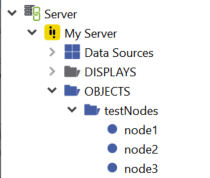
Create nodes
There are the following nodes for this example:
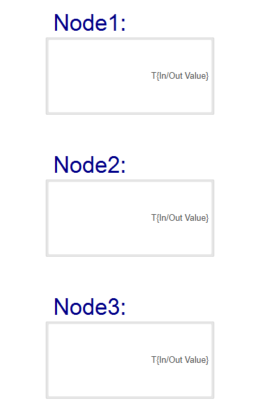
Main display
An "in/out value" control is added for every node to the main display.
Create users
Create new users userA and userB and open the user editor to define the respective access rights.
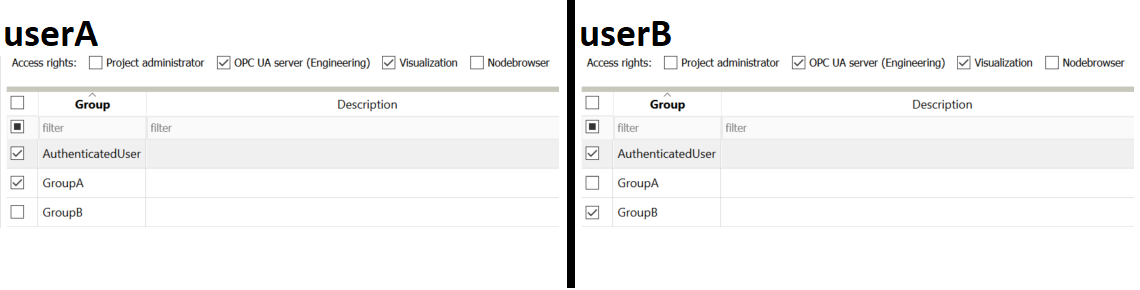
User configuration
The created users userA and userB get the necessary right to log in to the builder and the visualization, however, they are no project administrators. The users are members of the AuthenticatedUser group by default. In order to set specific rights you have to assign them to other groups. In this example, userA is assigned to GroupA, userB to GroupB.
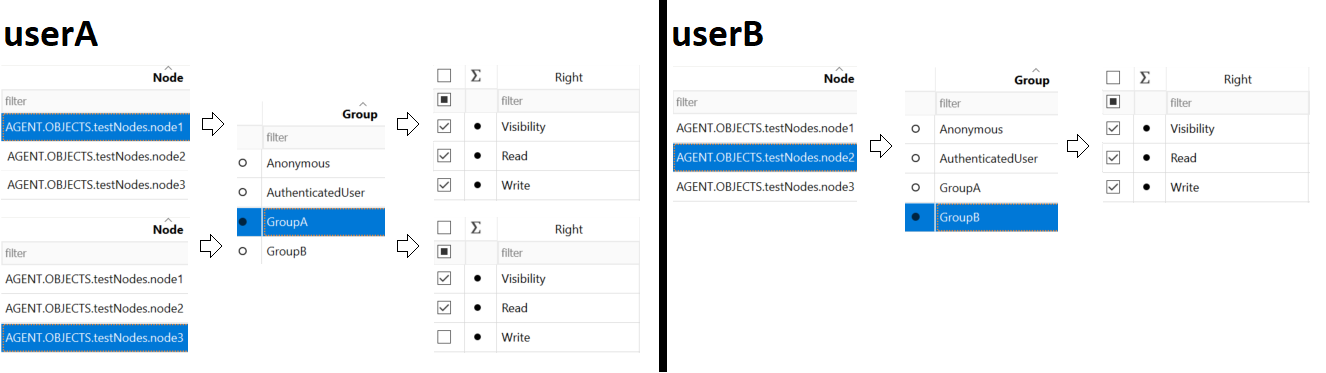
Set node rights
Open the access control editor to define rights for specific nodes. For this example, add the respective nodes to the editor by drag & drop and set the following rights:
Open builder
Log in with userA respectively userB. The available address space depends on the defined rights.

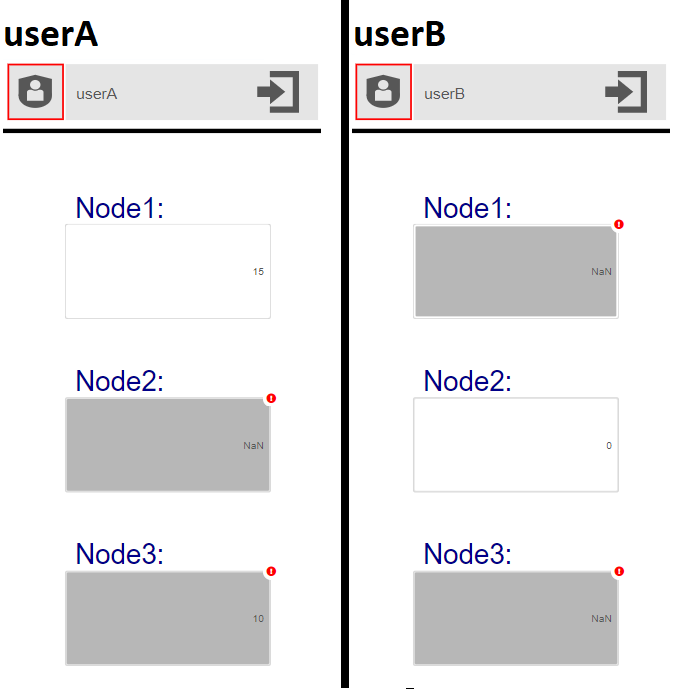
Open visualization
Open the visualization and log in with userA respectively userB. Depending on the defined rights, the input/output element is either locked or allows to read and/or write node values.